Example Foundation Repair Projects in Sammamish

Four foundation jobs in Sammamish, Issaquah and Fall City are described below, from the request through the steps to an estimated cost.

None of the examples is a past job, a client or an address. They illustrate the work we plan and quote.

Helical piers along one whole side of a house

Example project
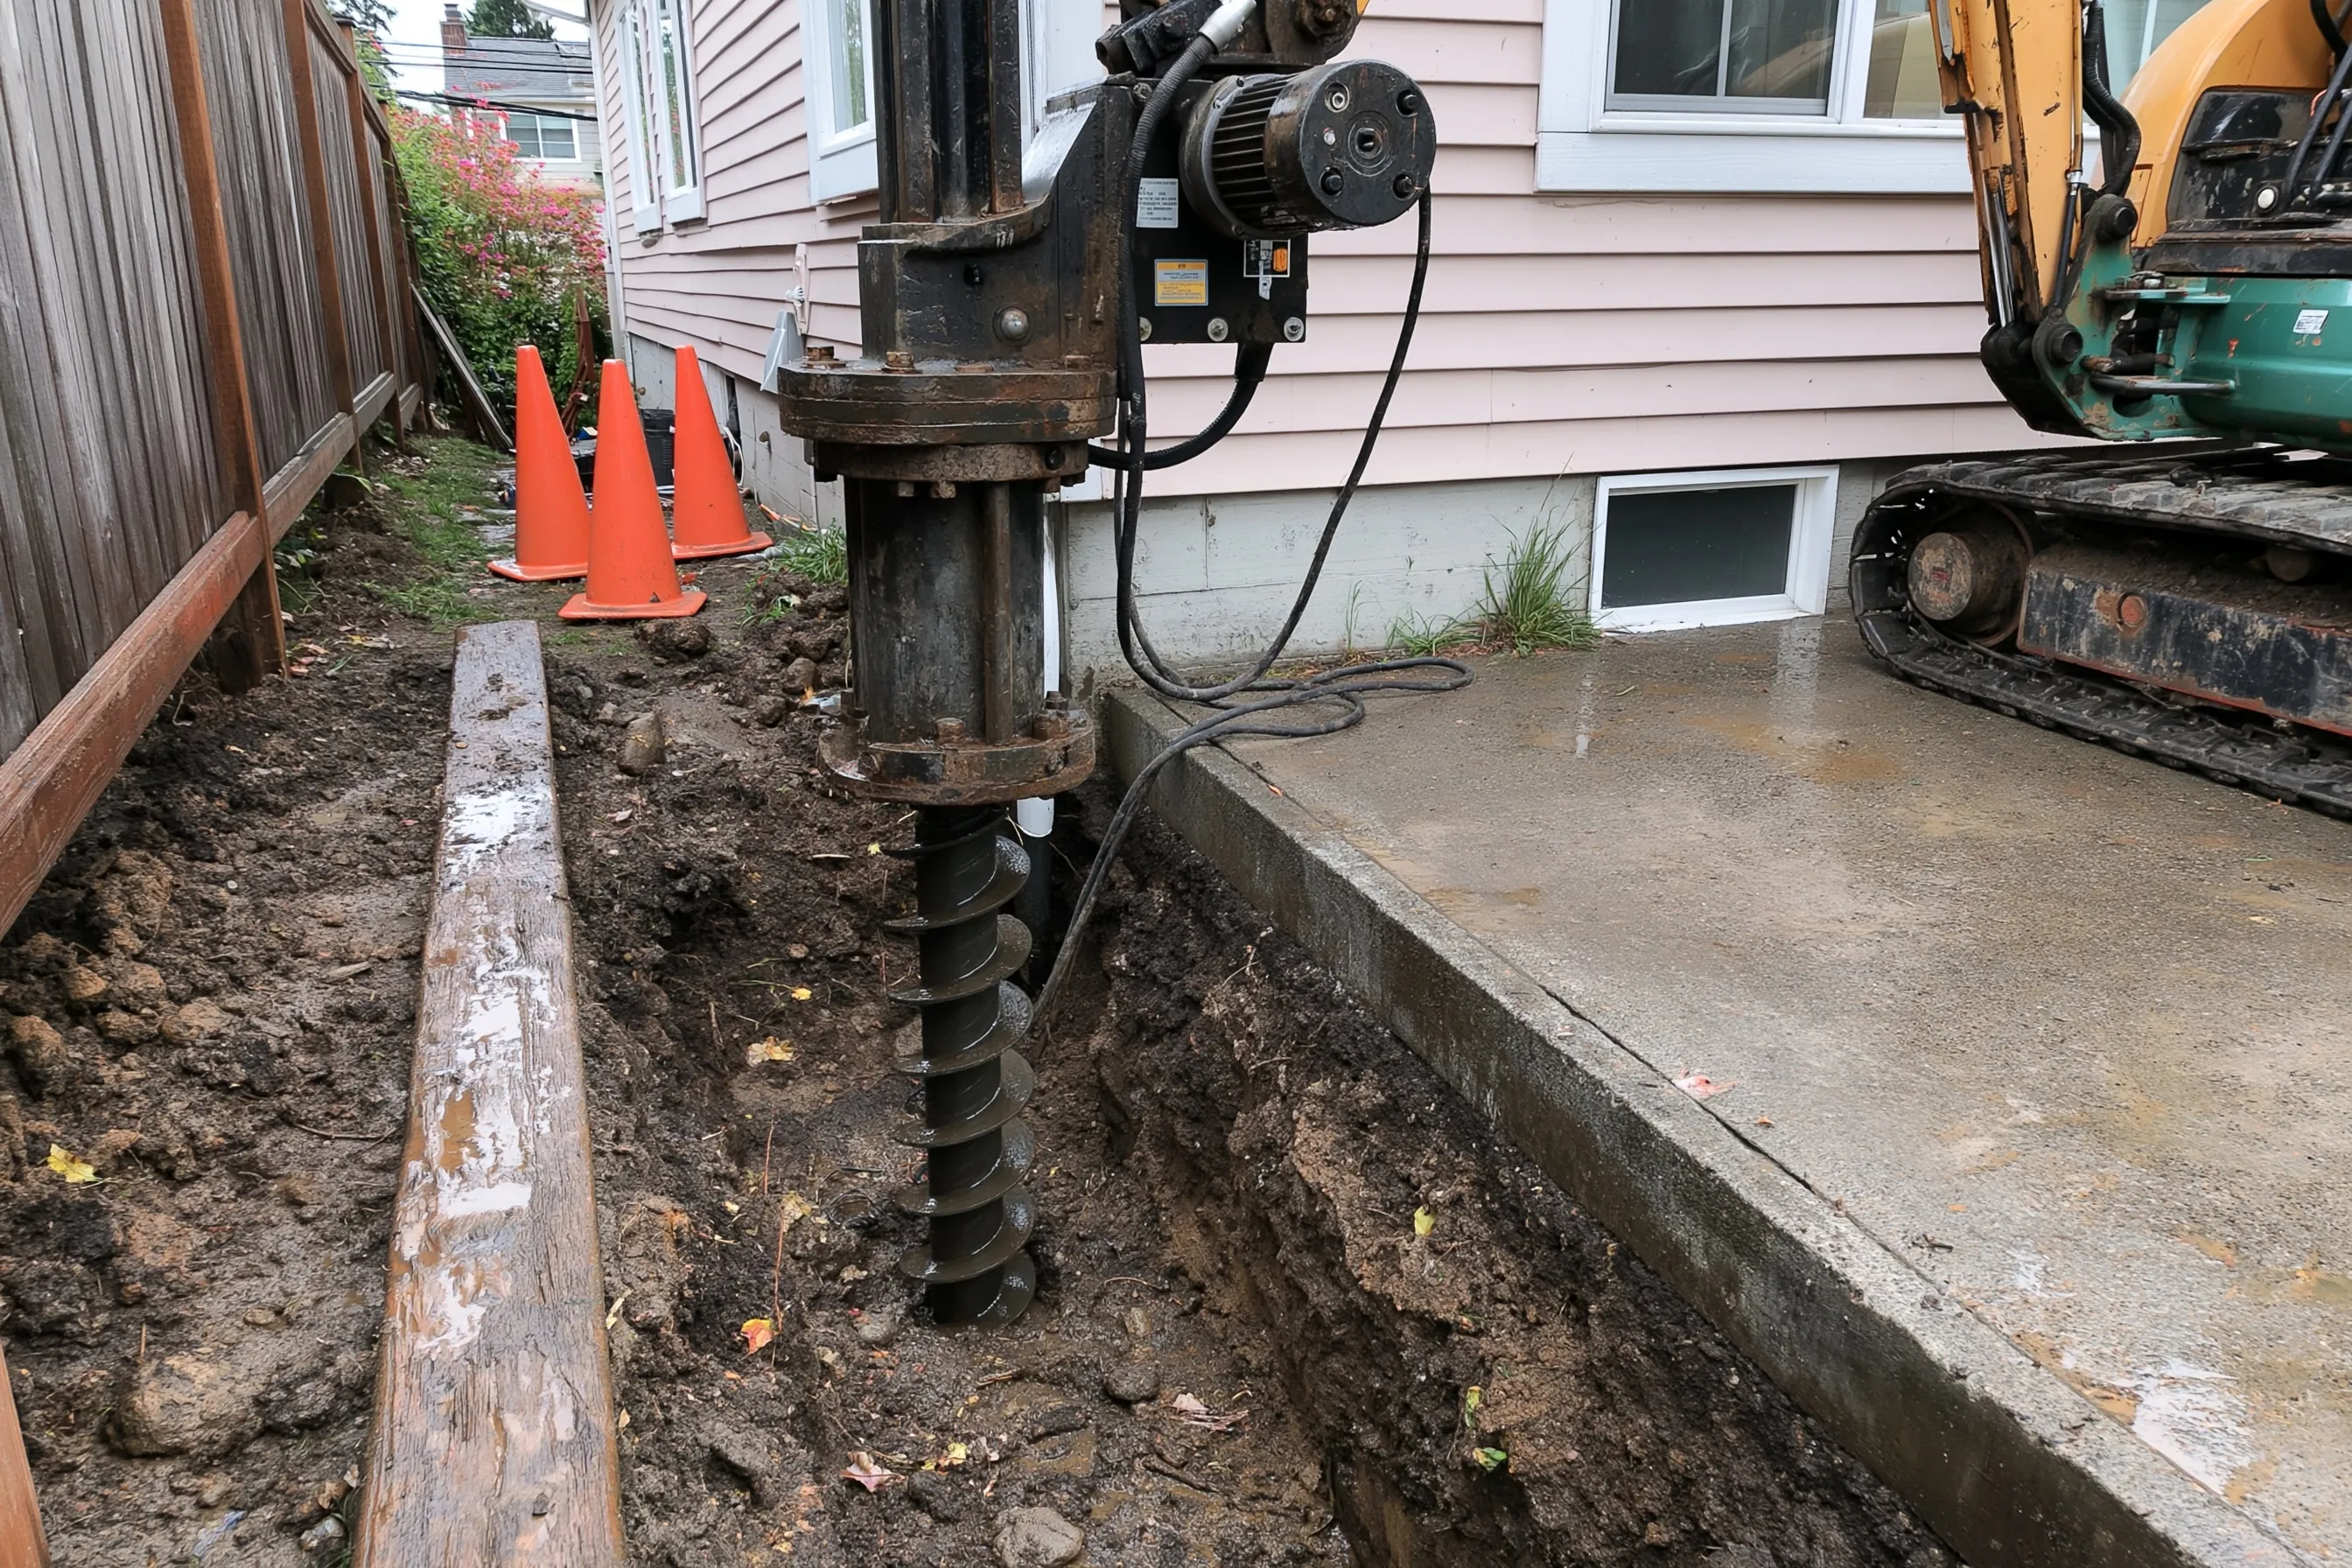
Side of a pale pink lap-sided house with a basement window, a narrow side yard with a wood fence, a trench with a black helical shaft turned by a drive head on a compact excavator, orange cones and a concrete slab
Home
Lap-sided house in Sammamish with a basement window in the foundation wall
Original request
One whole side of the house that has dropped, not just a corner
Access
A strip between the house and a wood fence, reached by a small machine
Piers
Six to eight steel helical shafts along the side, turned in beside the footing
Not included
Fence repair, replanting and any engineer’s report
Cost
$17,500

Scope of work

A trench beside the footing along that side, six to eight helical shafts turned in with a drive head on a small excavator, brackets to the footing, backfill and cleanup. Fence work, replanting, an engineer’s report and permit costs are not part of this cost.

Project overview

In this example, the owners of a lap-sided house in Sammamish see a whole side of the house sit lower, not just one corner. The side yard is a narrow strip with a wood fence along it.

A small machine can work in the strip. The plan turns six to eight helical shafts in along the footing, and where an engineer’s report or a permit is needed, that is settled before any digging.

The goal

The goal is a long side wall carried on helical shafts to the depth the plan calls for, with each step written down.

Process

  1. Before work The side is measured from end to end, the strip is checked for the machine and the plan is written.
  2. Dig A trench is opened along the footing in stages, with the spoil kept on boards.
  3. Shafts Each shaft is turned in with the drive head to the depth the plan shows.
  4. Close up Brackets are fitted, the trench is closed and the strip is cleaned.

Planning right

  • Walk the whole side and note where doors, windows or trim have moved.
  • Tell us about buried lines along that side before the trench is cut.
  • Ask for the number and depth of shafts to be written in the scope.
  • Ask who deals with the permit question and any engineer’s report.
Get a free quoteMore about settlement and piers

A crack found behind stored boxes in a basement

Example project

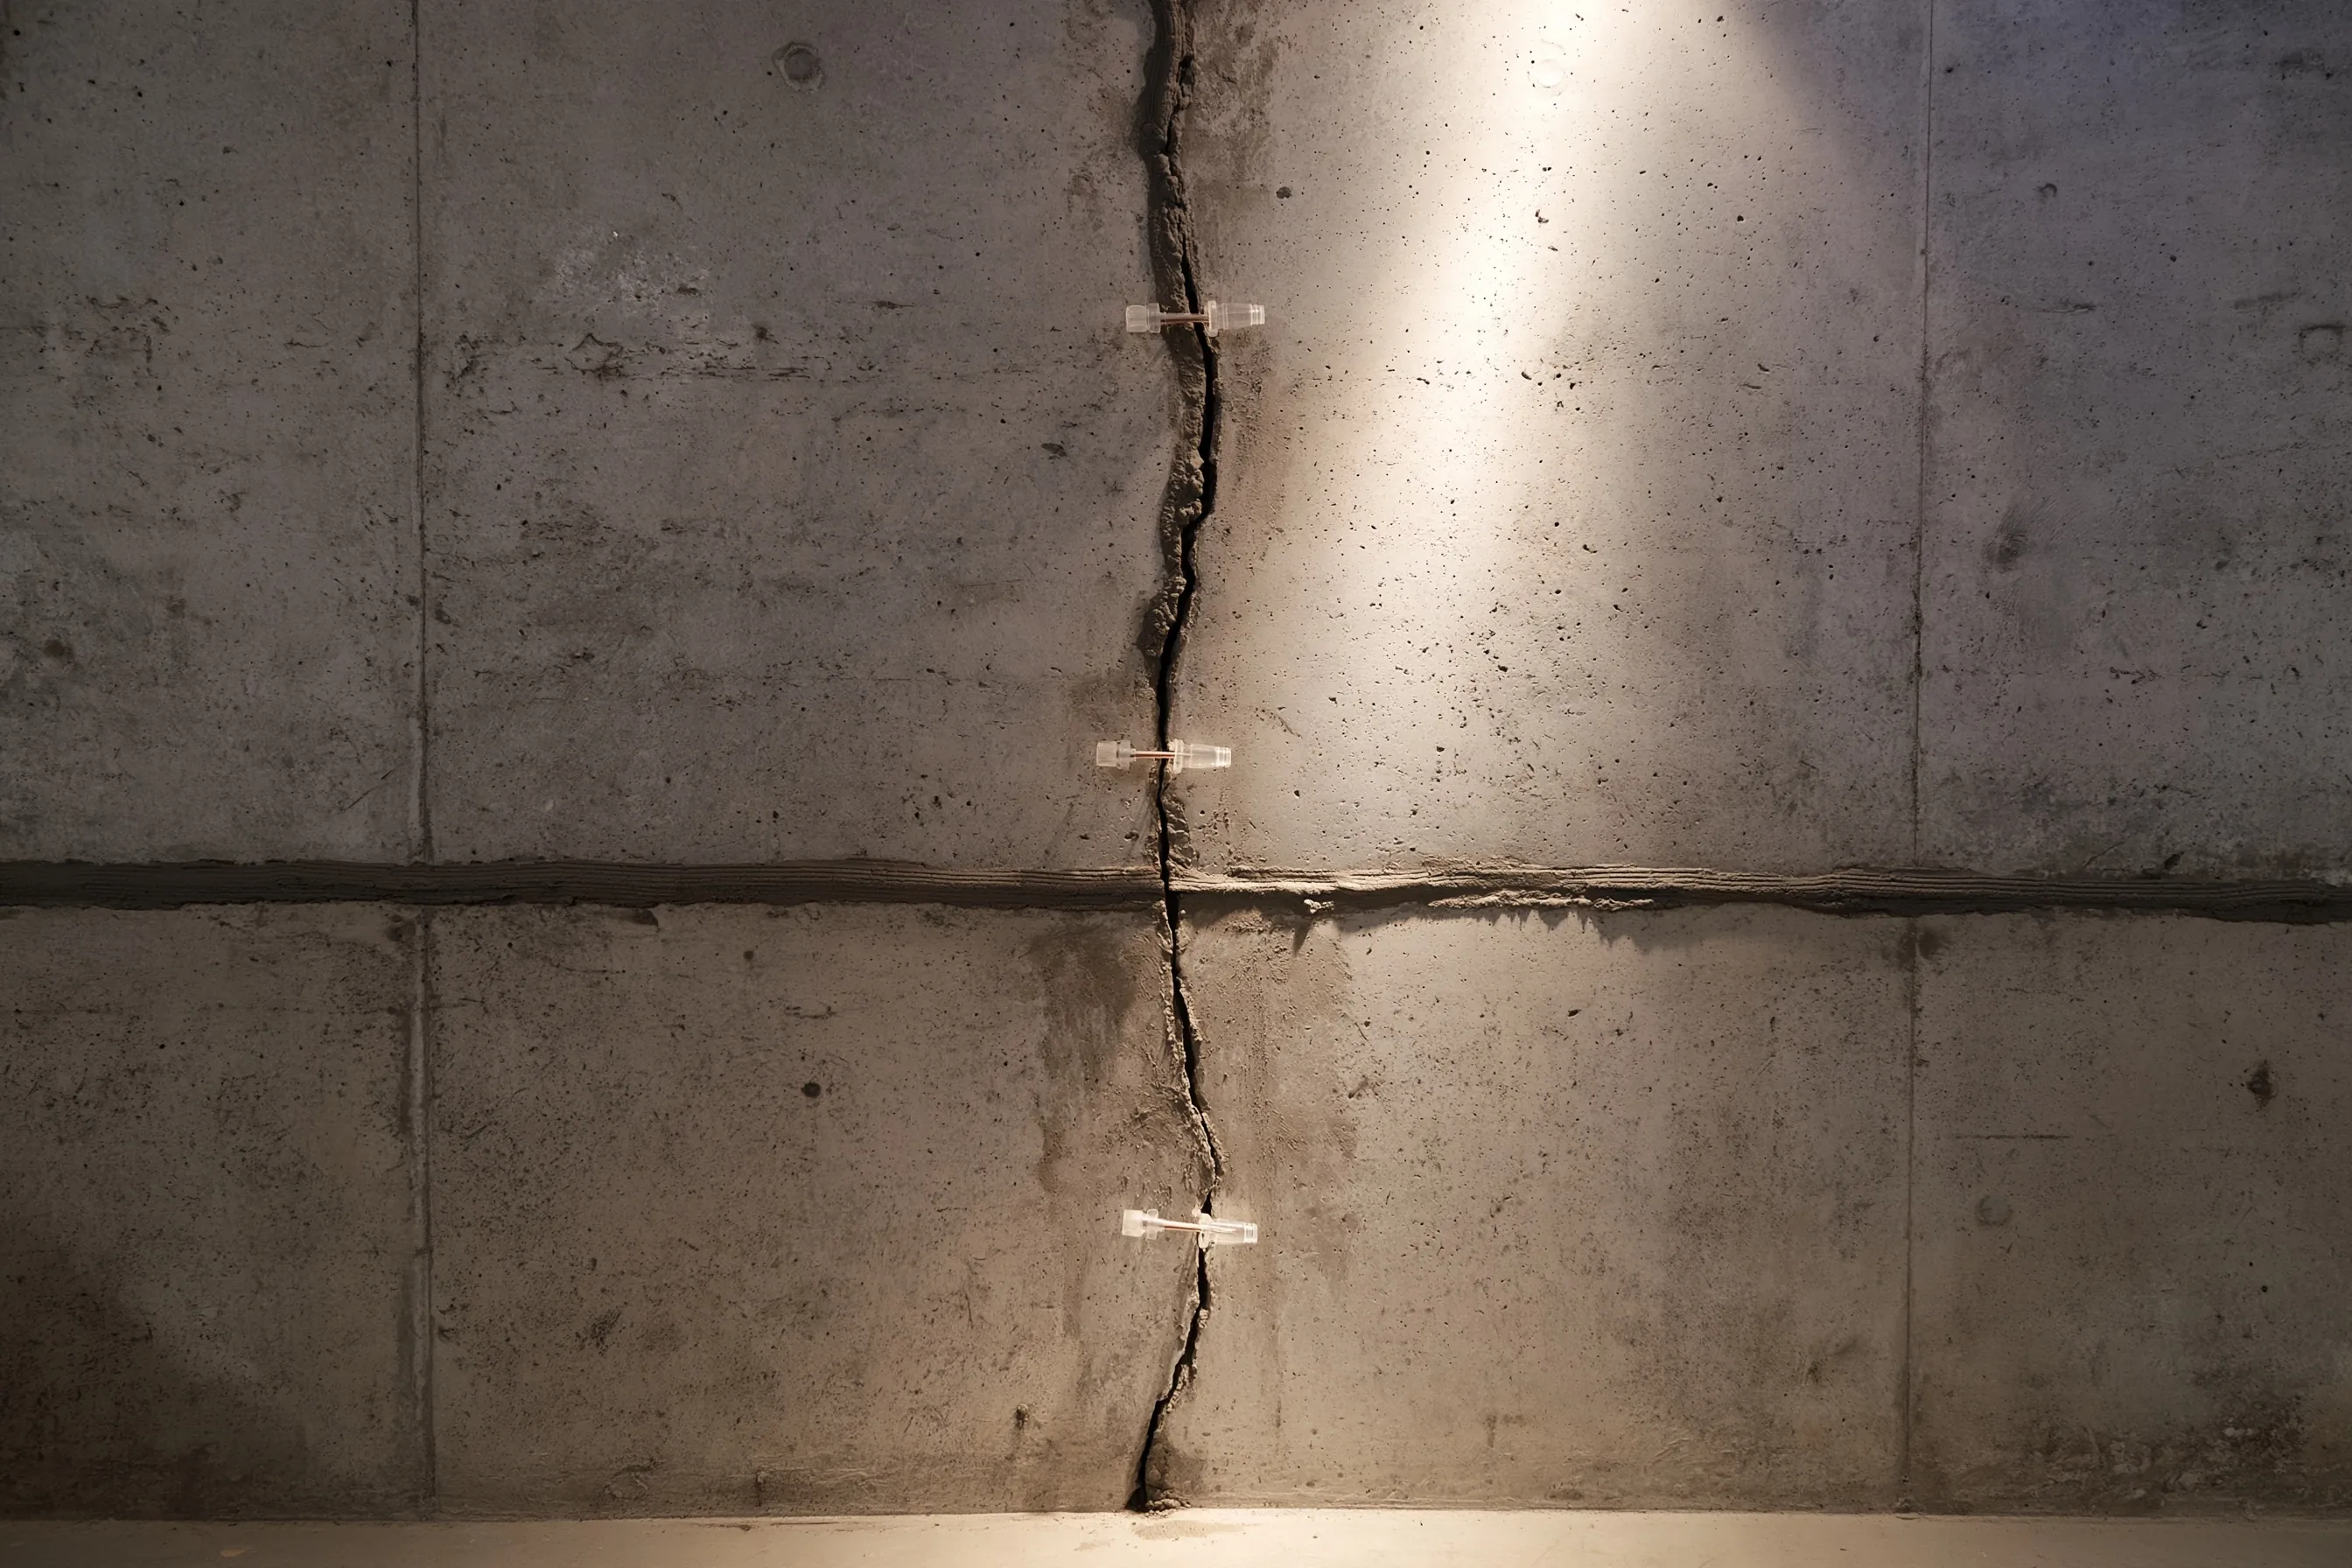
Grey poured-concrete interior wall with one vertical crack closed with a bead of material and three small clear plastic injection ports along it
Home
House in Issaquah with a poured-concrete basement wall
Original request
A crack found when the owners cleared a storage corner
Crack
One vertical crack, most of the height of the wall
Method
A surface bead along the crack with three small ports set along it
Not included
Painting the wall
Cost
$800

Scope of work

Cleaning the crack, a bead along its length, ports for injecting epoxy or polyurethane working upward, then taking the ports off. Painting is not part of this cost.

Project overview

In this example, the owners of a house in Issaquah move stored boxes away from a basement wall and find a vertical crack running up the concrete. They want to know whether it is moving.

The plan marks the crack and takes two measurements before injecting, so a later visit can compare. If it has not moved, the crack is sealed from the inside with a bead and ports.

The goal

The goal is a sealed crack with its marks kept, so that any later movement shows.

Process

  1. Before work The crack is measured, marked and photographed, and the wall is checked for damp.
  2. Prepare The crack is cleaned, a surface bead goes on and the ports are set.
  3. Inject Material is injected through the ports from the bottom up.
  4. Finish The ports are removed and the wall is checked again after the next wet spell.

Planning right

  • Date a pencil mark at each end of the crack, then look again in a few weeks.
  • Keep the wall clear of boxes so the whole crack can be seen.
  • Tell us whether the wall is damp or dry at the crack.
  • Wider cracks that are still opening get a closer look than hairlines.

Get a free quoteMore about foundation crack repair

An outside drain along the back wall of a daylight basement

Example project

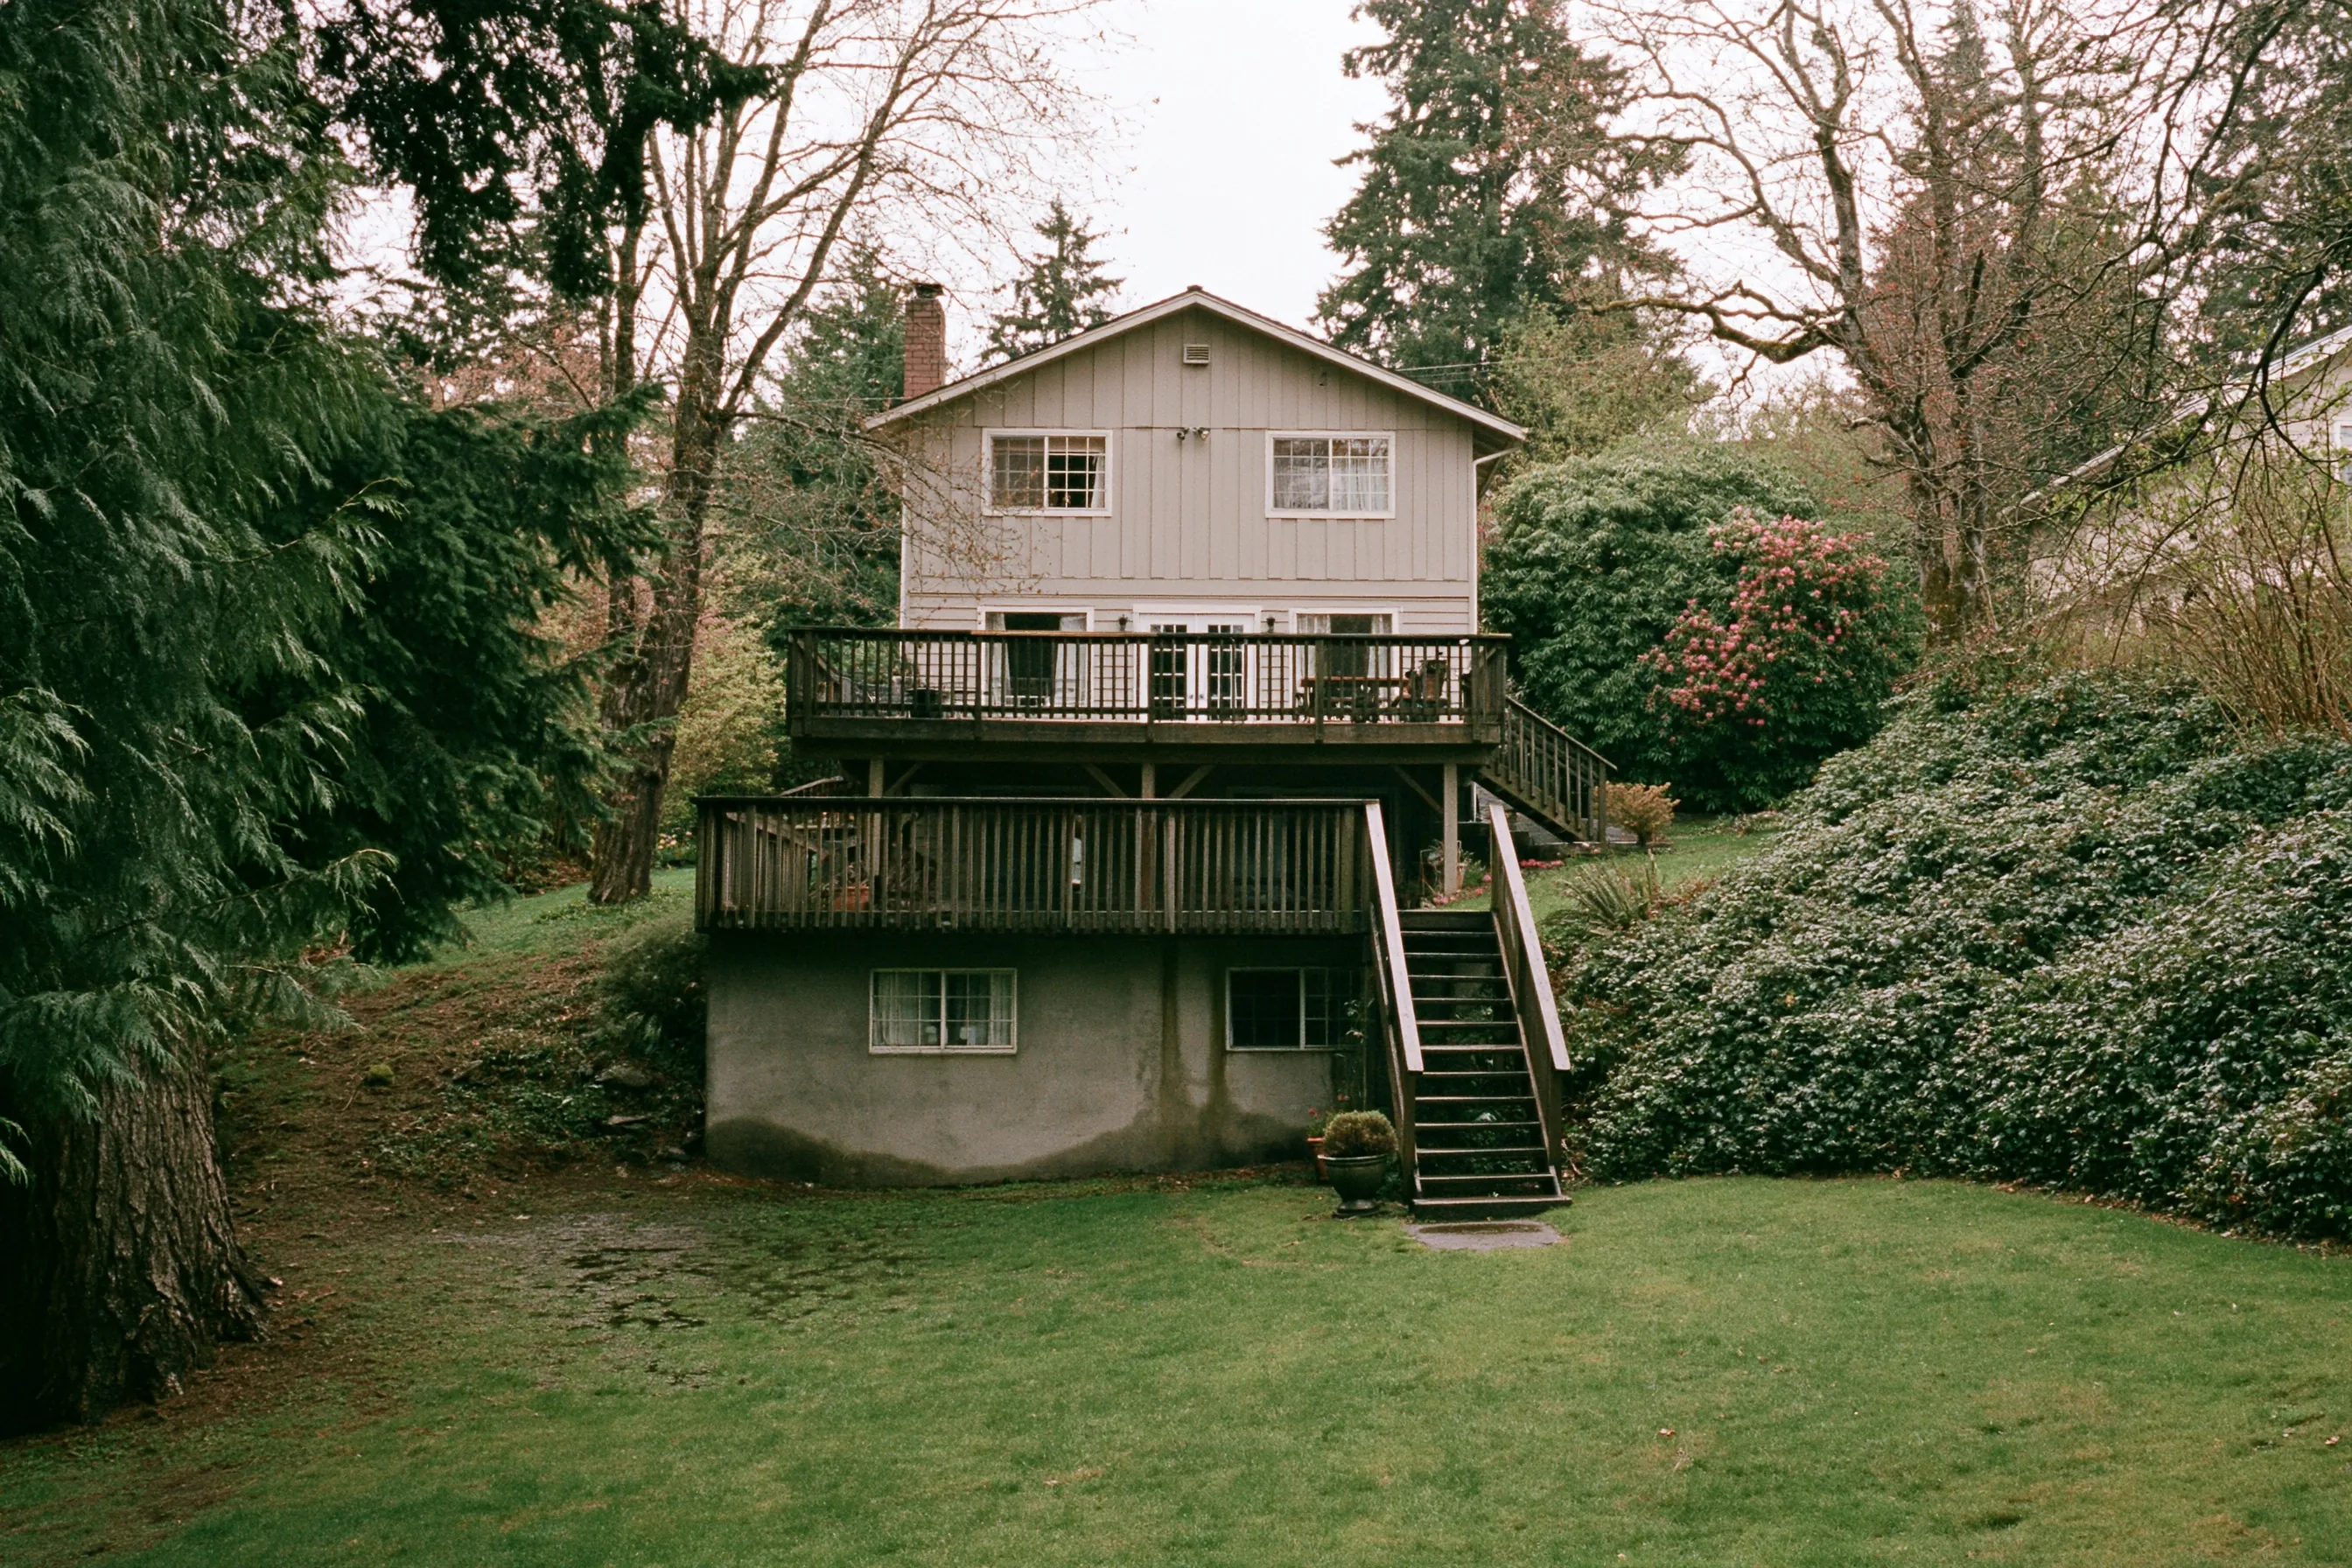
Rear of a two-story house with grey board siding above a poured lower wall with two windows and dark streaks, two decks, a wooden stair, a lawn with a wet patch and an ivy bank
Home
Two-story house in Fall City with a daylight basement at the back
Original request
Dark streaks down the lower wall and a lawn that stays wet near it
Wall
Poured lower wall with two windows, under two decks
Work
A footing drain along the lower wall, run to a safe outlet
Not included
Deck work and lawn restoration
Cost
$3,500

Scope of work

Opening about 30 ft along the lower back wall to the footing, pipe in gravel, a discharge to a safe outlet well off the house, and backfill. Deck work and lawn restoration are not part of this cost.

Project overview

In this example, the owners of a two-story house in Fall City see dark streaks run down the lower back wall. The lawn near it holds a wet patch, and two decks overhead make it hard to see the roof water.

The plan checks where the downspouts and deck drainage land, then lays a drain along the footing of the lower wall. The water goes to a safe outlet well away from the house.

The goal

The goal is a drain at the footing of the lower wall that sends water to an outlet away from the house.

Process

  1. Before work The wall is looked at in rain if possible, and the downspouts and deck run-off are traced.
  2. Dig A trench is cut along the wall to the footing, working around the stair.
  3. Drain A perforated pipe is laid in gravel with a fall to the outlet.
  4. Close up The trench is backfilled in layers and the run is tested with water.

Planning right

  • Photograph the streaks and the wet patch after a rain.
  • Tell us where the deck and roof water runs to.
  • Ask where the drain ends and who owns the ground it crosses.
  • Keep the stair and planting clear along the trench line.

Get a free quoteMore about foundation drainage

Three new posts on fresh pads under a sagging floor

Example project

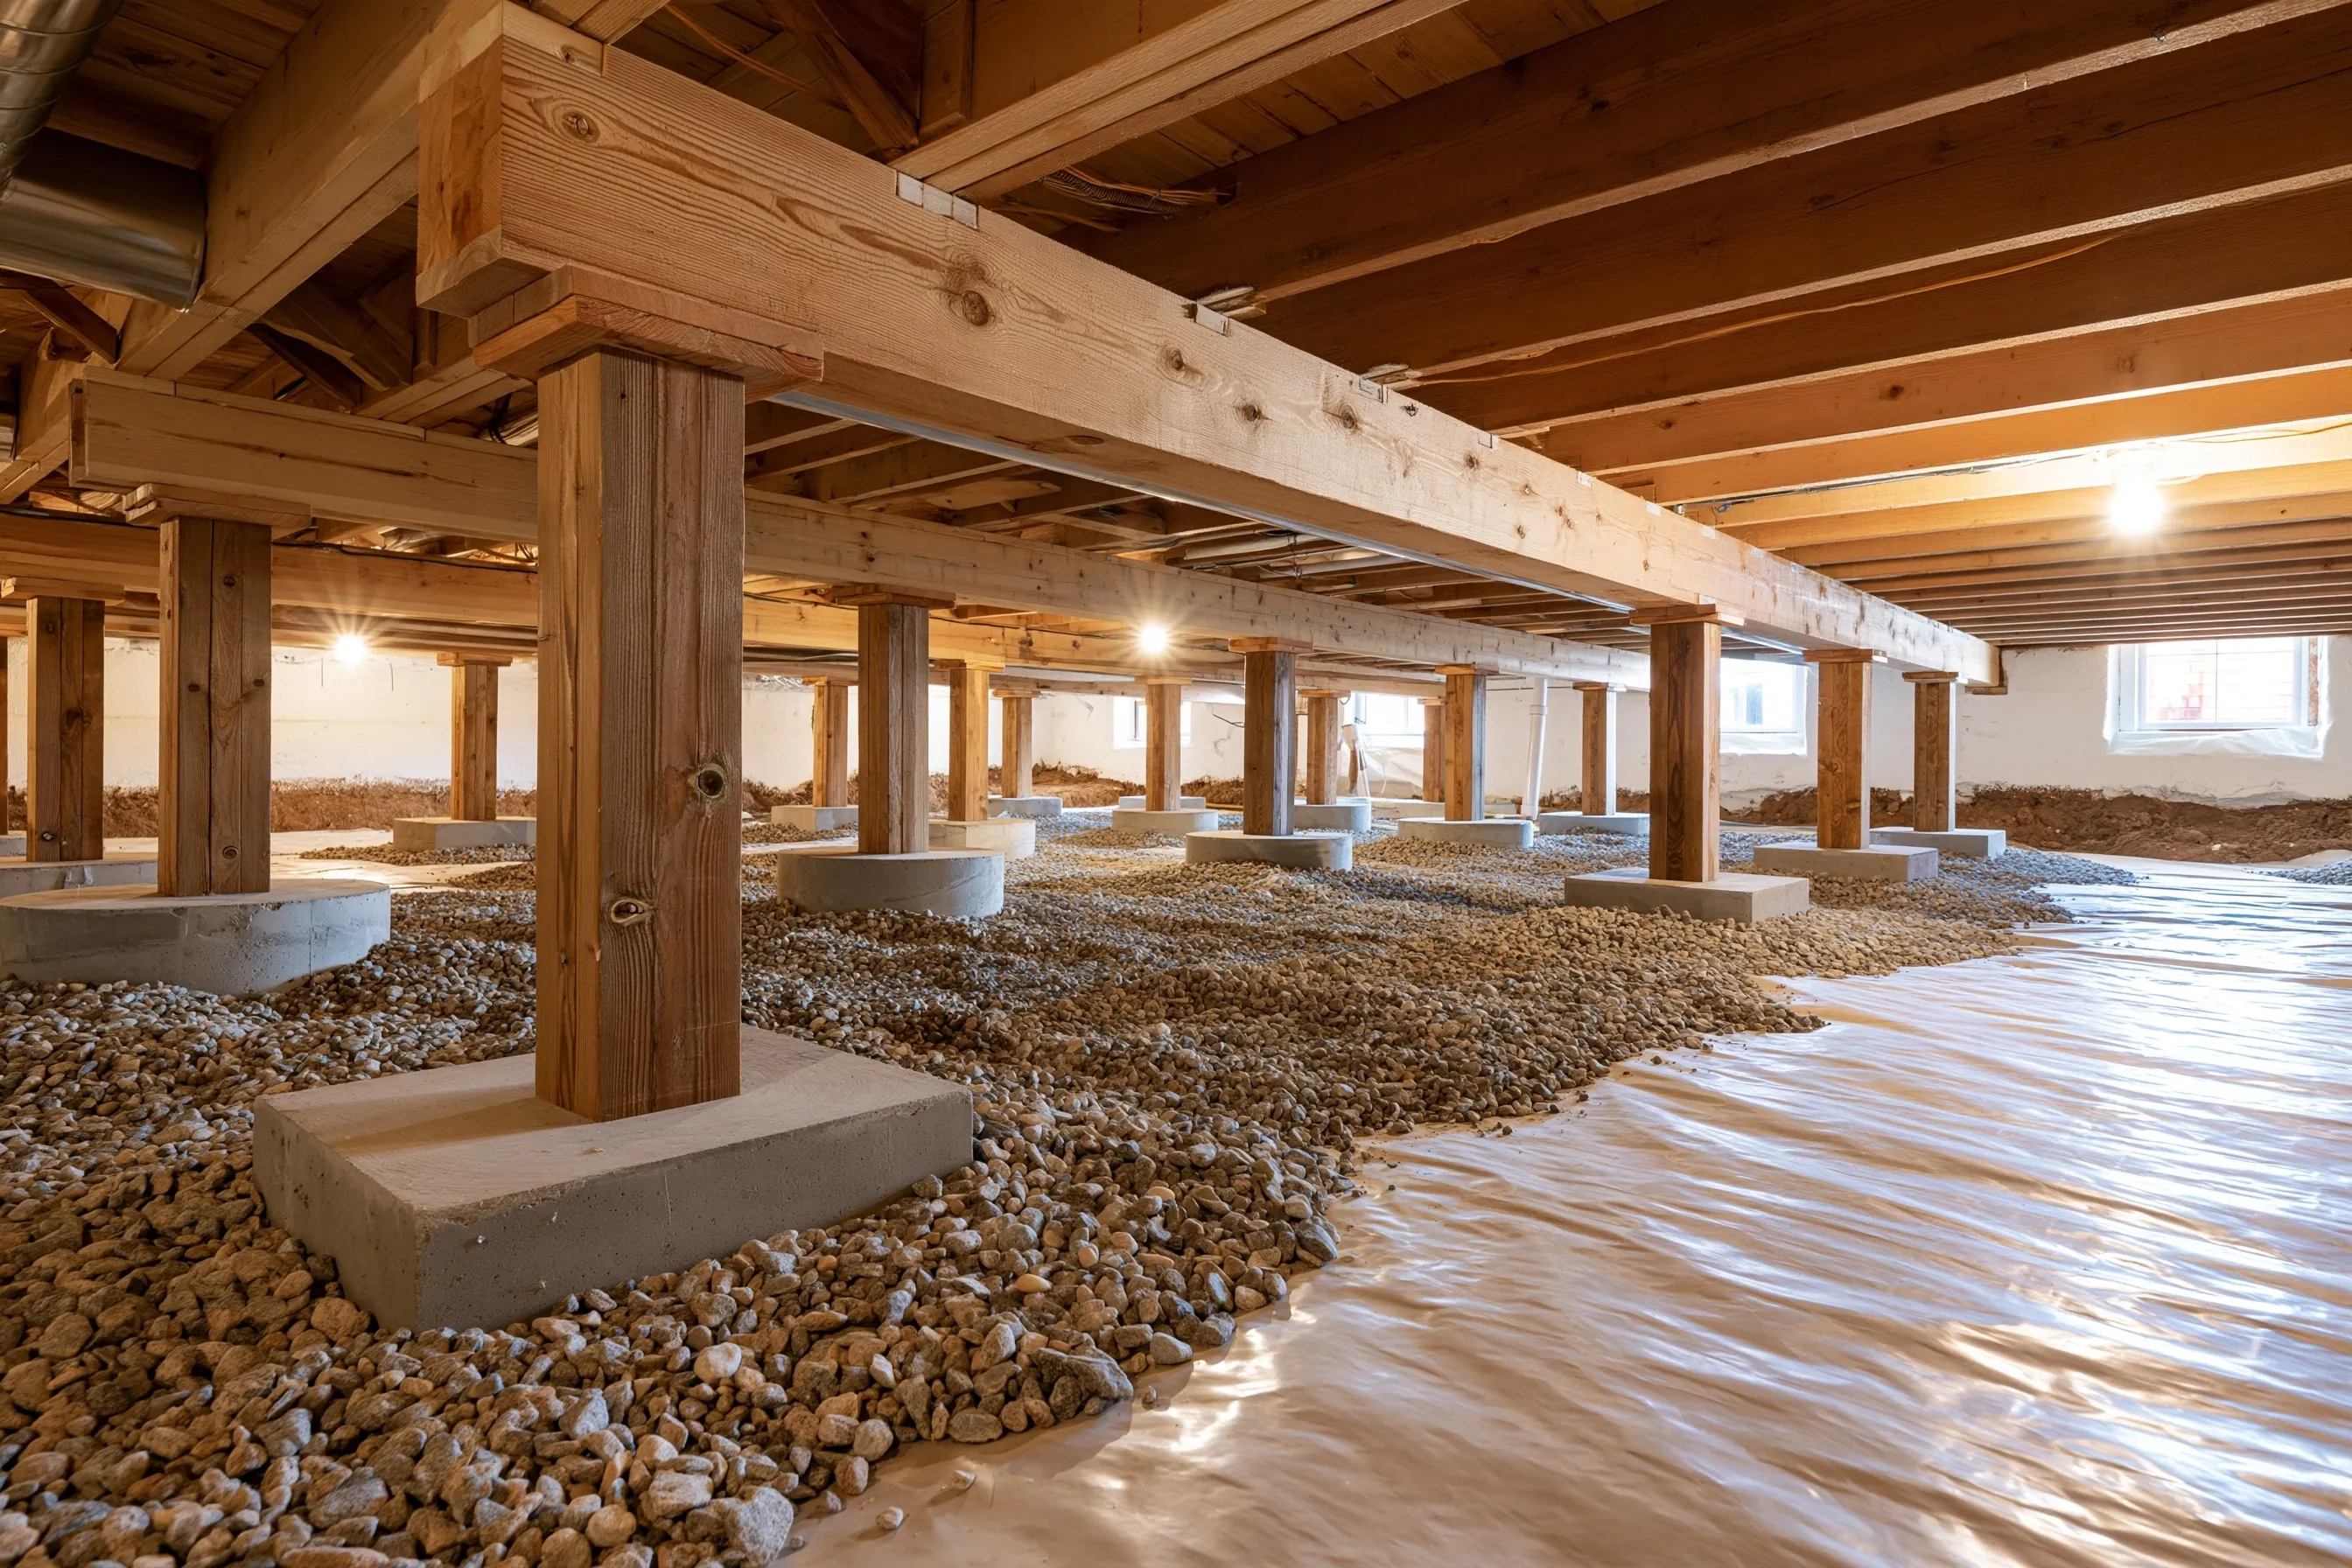
Crawlspace with new light-colored posts on concrete pads under straight wood girders, gravel and a plastic sheet on the ground, a white-painted wall with a window, and joists and a duct above
Home
House in Issaquah with a crawlspace
Original request
A floor that has begun to sag between its posts
Under the floor
New light posts on concrete pads under straight girders
Ground
Gravel and a plastic sheet
Not included
Floor finishes
Cost
$4,100

Scope of work

Temporary supports, three new posts on new concrete pads under the girder, connectors, and gravel and a plastic sheet put back where they were moved. Floor finishes are not part of this cost.

Project overview

In this example, the owners of a house in Issaquah see the floor sag between two supports. Three of the old posts under the girder have gone soft at their bases.

The plan props the girder, replaces the three posts and sets each on a new concrete pad. Gravel and a plastic sheet go back on the ground afterwards.

The goal

The goal is a girder carried on new posts and pads, with the work photographed from start to finish.

Process

  1. Before work Every post is checked and the soft ones are marked, with photographs.
  2. Prop Jacks hold the girder while the old posts come out.
  3. Replace Concrete pads are placed, then the new posts, then the connectors.
  4. Close up Jacks come off, the gravel is raked and the sheet is laid back.

Planning right

  • Tell us where the floor sags and when you first felt it.
  • Ask for every post to be photographed before and after.
  • Keep the hatch clear.
  • Ask how the pad is sized for the load.

Get a free quoteMore about crawlspace posts and beams

Request a free foundation repair quote

Send the address, say what you see and where, and add a photo if you have one. We'll get back to you soon to arrange a visit or with any questions we have. Estimates are free and there's no obligation.

Call (425) 642-1026

Call (425) 642-1026